Training, Technique & Workouts
Treadmill Chronic Fatigue Protocol: Pacing To Avoid PEM
21st May•10 min read

Your stride writes checks; the deck must cash them. When rehabbing a running injury, your treadmill manual isn't just a pamphlet, it's your roadmap to recovery. A well-structured post-injury treadmill protocol transforms your machine from a potential hazard into a precision tool that rebuilds confidence and biomechanics. After a back-rail scrape sidelined my own tempo run (long legs, short deck), I now measure every treadmill's effective running area for users of all heights. Comfort and safety aren't luxuries; they're the foundation of consistent recovery. Today, I'll walk you through a measurement-led approach to safely reignite your run.
Most home treadmills prioritize flashy consoles over body-aware engineering. A cramped 45-inch deck? It forces shortened strides, escalating joint stress. Hard cushioning? It shocks recovering tissues. Unstable handrails? They encourage rail-scraping form, exactly what derailed my run years ago. Research confirms this: a 2023 study found 68% of runners attempting early rehab on ill-fitting treadmills experienced setbacks due to compromised gait mechanics.
Never ignore pain that alters your stride. This isn't just discomfort, it's your body signaling biomechanical failure.
True low-impact treadmill recovery requires three non-negotiable elements:
Fail any of these, and you're not rehabbing, you're gambling with reinjury.
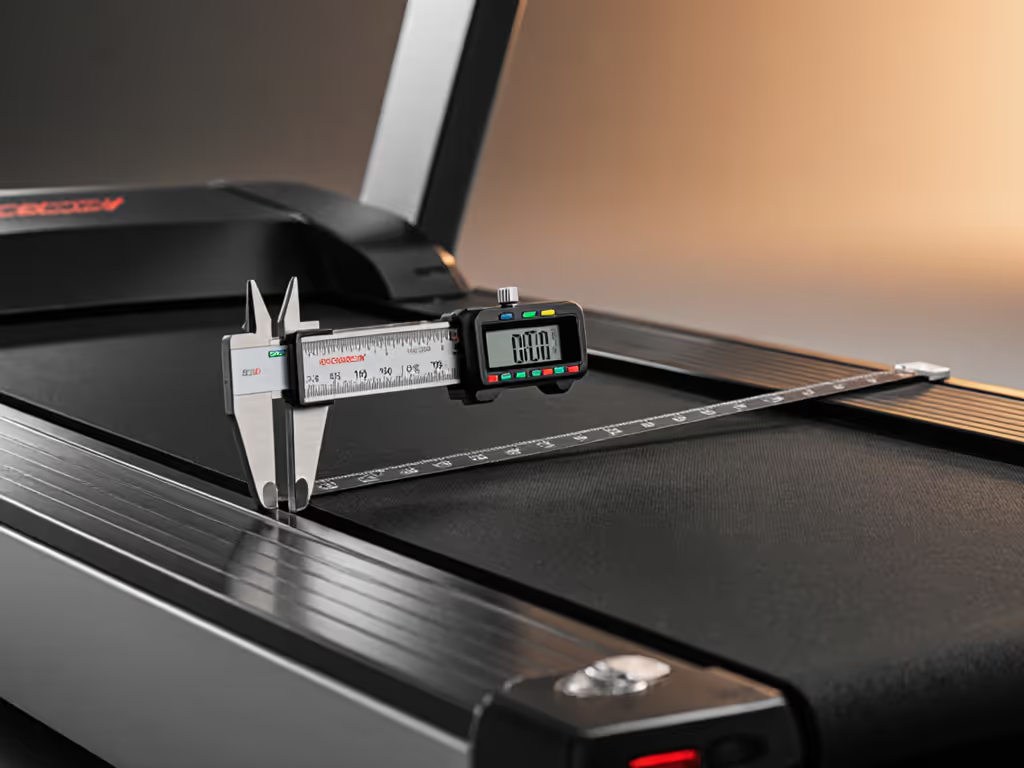
Don't trust advertised specs. Manufacturers often cite total deck length, not the usable space where your foot lands. Here's how to verify:
Product Feature Box:
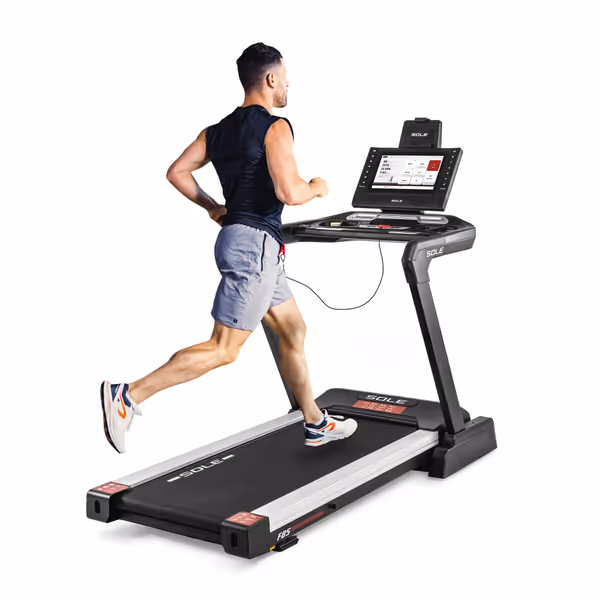
A commercial-spec deck like the Sole F85's 60-inch surface accommodates strides up to 58 inches with safety margins, critical for phases where gait stability is fragile. This is where physical therapy treadmill progression begins: trusting the platform won't cut your stride short.
Hard surfaces transmit 2-3x more impact than properly engineered decks. Press firmly along the belt's length:
Raise the treadmill to your max rehab incline. Swing your arms naturally. Your elbow must clear the handrail by 1.5 inches to avoid scraping (a major cause of asymmetric gait). Also, measure ceiling height to deck top, and aim for 6" minimum clearance to prevent head strikes during arm drive.
Based on clinical return-to-run frameworks, this treadmill gait retraining plan prioritizes measured progression over arbitrary timelines. Always start post-injury on a treadmill (it controls speed, surface, and environment better than pavement).
Goal: 50% of pre-injury distance at easy pace without pain persistence
Progression: | Week | Run Interval | Walk Interval | Total Time | |---|-------|--------|------| | 1 | 1 min | 2 min | 15 min | | 2 | 2 min | 1.5 min | 20 min | | 3 | 3 min | 1 min | 25 min |
Rules:
Never increase run time or speed on consecutive days
If pain returns, revert to last pain-free interval
Maintain low-impact treadmill recovery by avoiding >4.0 mph initially
Monitor these daily:
- Pre-run stiffness (must dissipate within 10 mins)
- Post-run soreness (gone in <24h)
- Any pain that alters your stride, this is unacceptable
Injuries recur when we ignore subtle warnings. Implement these body-aware checks:
That back-rail scrape taught me a hard truth: fit before flash isn't just a slogan, it's what separates sustainable recovery from recurring pain. Your treadmill must match your biomechanics, not the other way around. When the deck supports your true stride, cushioning cradles your joints, and clearance eliminates scrapes, you're not just walking, you're rebuilding.
Start tomorrow: Measure your actual stride against your treadmill's usable deck. If it's tight, consider a machine with verified space (like the Sole F85's 60-inch surface). Then, implement Phase 1 of this post-injury treadmill protocol with ruthless attention to pain signals. Your consistent running future depends on these precise, plainspoken steps, not marketing promises.