Treadmill Comparisons
Thermal Management Systems Compared: Cooling Efficiency & Design
10th May•13 min read
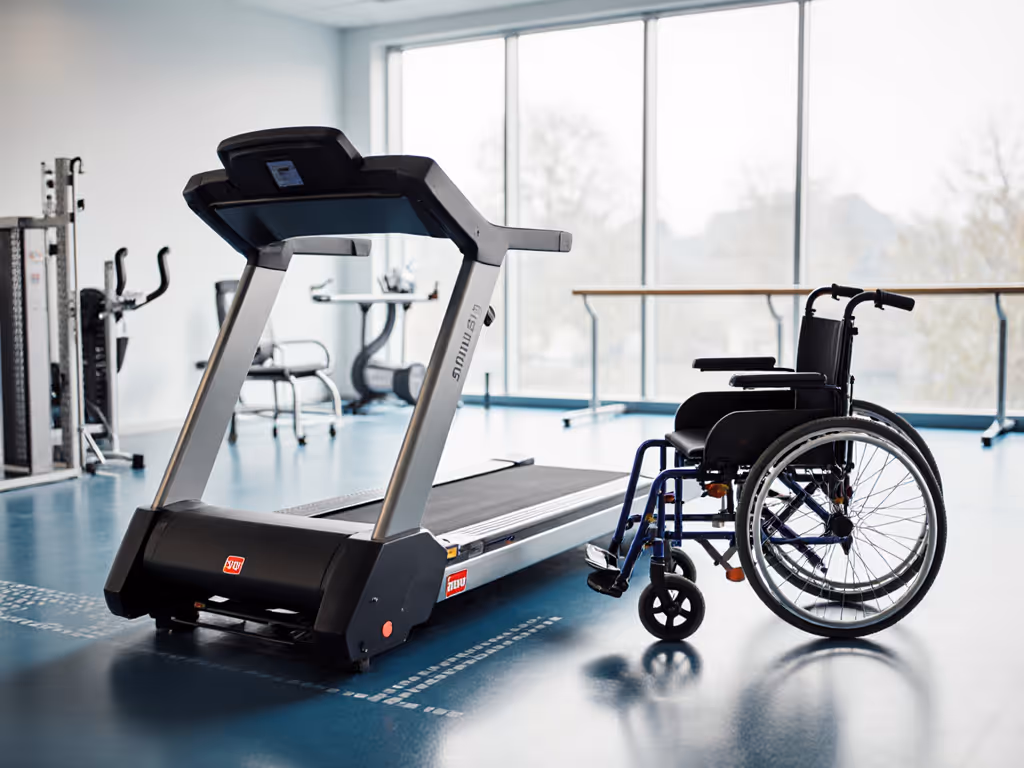
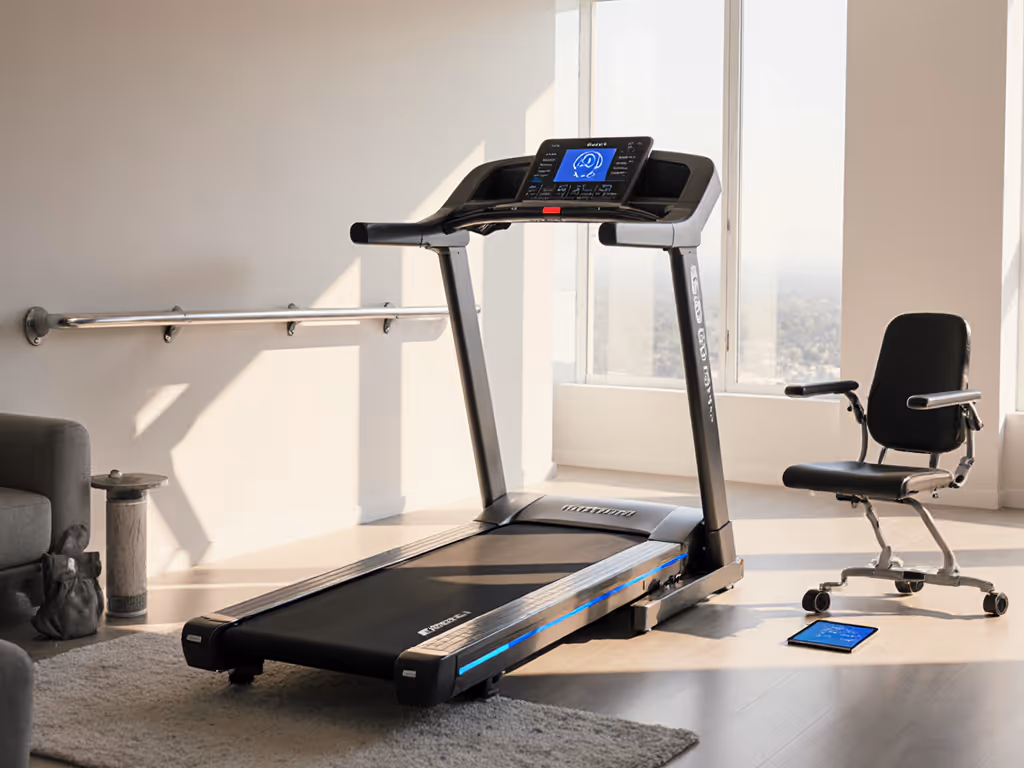
Adaptive treadmill features for wheelchair users demand a different assessment framework than standard home gym shopping. The real question isn't just what the machine does; it's whether your body can access it safely, whether it will stay stable under your weight and gait pattern, and whether the space around it supports your actual transfer and exercise routine. I've worked with athletes of every mobility profile, and the most common regret isn't speed or features; it's discovering too late that the entry height was wrong, the handrails were positioned for standing users only, or the deck footprint left no room for approach. Accessible treadmill comparison requires measurement-led thinking from the start. If you need help decoding specs like deck height, belt width, and weight capacity, see our treadmill specs guide.
Before comparing any machines, measure the actual space where the treadmill will live. If space is tight, compare folding vs non-folding treadmills to see what you can realistically fit. This is the foundation. Wheelchair approach needs room on both sides and at the entry point (typically 36 inches minimum for a standard manual chair, more for powered models or for someone who uses a caregiver's assistance during transfer).
Measure:
One tall runner I worked with had a back-rail collision during a tempo run on a machine with a short deck. His heel strike happened too close to the rear rail. That taught me early to mark the effective running surface, not just belt length. For wheelchair users, this translates to ensuring the deck height and approach angle allow safe transfer, not just reaching the belt.
The belt should be at least 22 inches wide and 50 inches long, according to biomechanics research[2]. For wheelchair users, this becomes more critical: a full-sized belt gives you room for a natural stride without risk of stepping off, and it provides a stable entry platform for transfer.
Key measurements to compare across models:
Consider how you'll shift your weight during transfer. If you're moving from a sitting position (chair or bench) to the belt, the horizontal distance and height difference determine how much upper-body strength and balance you'll need. A lower deck or one with a gentle slope reduces strain.
Side handrails are essential for balance and safety[2]. For wheelchair users and adaptive athletes, they serve an additional purpose: they're your primary stability point during transfer and initial weight-bearing.
When comparing models, check:
A quick-stop button or pull cord is the single most important feature on the control panel[2]. For adaptive users, test whether it's within quick reach from both standing and sitting positions on the machine. In an off-balance moment, you need to kill power instantly.
Many standard treadmills are designed for users who step up from floor level. For wheelchair users, the deck entry height is your primary accessibility metric.
Measure deck height in two scenarios:
Compare this against:
Body-weight support treadmills (such as anti-gravity models) use harness systems to reduce the load on your joints[4]. These machines allow precise adjustment of support from 20% to 100% of body weight in 1% increments[4], enabling you to walk safely while maintaining near-physiological gait kinematics and reducing joint stress[4].
If you're recovering from injury, managing chronic joint pain, or ramping back into training after time off, this technology is worth exploring. For condition-specific guidance, see our post-injury treadmill rehab protocols. However, it adds cost and complexity. Ask:
Protect your joints: buy once, keep moving. This means evaluating not just the purchase price but the full cost of ownership over 5-10 years.
For each model on your shortlist, gather:
A durable, stable machine with fewer features, but precise engineering for your body and space, will outperform a flashy model that doesn't fit your transfer method or space. Consistency comes from reliability, not marketing claims.
Gather specifications for 3-5 models that pass your initial space and height checks. Create a simple spreadsheet with columns for:
Visit each machine in person if possible. Stand beside it. Test the handrails. Ask the retailer to show you the transfer path and allow you to mime a transfer (with your chair in position). If the retailer is hesitant or dismissive, that's a sign they don't understand adaptive fitness. For a shortlist of accessible models with verified balance support and low entry heights, see our accessible treadmills comparison.
Request measurements in writing. Most reputable manufacturers will provide detailed PDFs with exact dimensions, handrail positions, and entry heights. If they won't, move to the next option.
Your stride, and your safety, deserve exact numbers, not estimates.